
Last updated September 20, 2026
Free on-site gate assessment - hinges, posts, and your LiftMaster or Nice gate operator checked before anything is quoted
The assessment is free and the quote is the invoice.


 Before
 After
After Before
 After
After Before
 After
AfterGate Repair Maintenance Checklist for West University Place Homeowners
Every gate maintenance checklist online says “lubricate hinges and check battery backup.” None of them tell you what voltage reading means the battery is two months from leaving your gate stuck open at midnight. In West University Place, where June humidity sits above 90 percent and afternoon thunderstorms roll through without warning, a gate that fails on a weekday morning strands a car in the driveway and leaves a family late for school. This guide gives you the actual numbers: the voltage thresholds, torque specs, hinge-play measurements, and limit-switch travel distances that separate “fine” from “about to fail.” We’ve spent more than a decade documenting these measurements on residential gates across West University Place as part of our Gate Repair work, and we’re going to put the same numbers in your hands.
Quick Answer
A gate maintenance checklist for West University Place homeowners should cover five inspection points: battery backup voltage (a 12V battery reading below 12.4V at rest, or a 24V system below 24.8V, means replacement within 60 days), hinge wear (more than 1/8 inch of vertical play at the hinge pin), chain or rack slack (no more than 1/4 inch of deflection at mid-span), limit-switch travel (the gate should stop flush with the closed post, not bounce back), and control board corrosion (look for white or green residue on solder joints). Two items on any checklist should always go to a technician: gate motor and opener internal limit-switch adjustment and any spring tension work, both of which carry injury risk when handled without training.
Table of Contents
- Battery Backup Voltage: The Number That Predicts a Midnight Failure
- Hinge Wear: How to Measure Play Before It Strains the Motor
- Chain and Rack Slack: What a Tape Measure Tells You
- Limit-Switch Travel: The 12-Degree Problem We See Most Often
- Control Board Corrosion: Houston Humidity and What to Look For
- The Five-Point Visual Inspection You Can Do in Ten Minutes
- How to Log Each Inspection So a Future Technician Can Trend the Data
- Common Mistakes to Avoid
- When to Call a Professional
- Frequently Asked Questions
BeforeAfterBattery Backup Voltage: The Number That Predicts a Midnight Failure
Most gate openers in West University Place run on either 12V or 24V battery backup. The battery is what keeps your gate operational when CenterPoint cuts power during a storm or a brownout hits the neighborhood. And here’s what most checklists skip: a battery doesn’t fail all at once. It loses capacity in a slow curve, and you can measure exactly where it is on that curve with a basic multimeter.
For a 12V sealed lead-acid battery, a healthy reading at rest (gate idle, no charging current applied) is 12.6V to 12.8V. At 12.4V, the battery is roughly 75 percent charged. At 12.2V, it’s at half capacity. And below 12.0V, you’re looking at a battery that can fail the next time it’s called on. In our work across West University Place, we replace 12V batteries when they read below 12.4V at rest after a full charge cycle. That’s not because the battery is dead today. It’s because we know from two decades of service records that a 12V battery sitting at 12.2V is typically 45 to 60 days from failing under load.
For a 24V system (two 12V batteries wired in series), double the numbers. A healthy pair reads 25.2V to 25.6V at rest. Below 24.8V, we flag replacement. Below 24.4V, we recommend parking the gate in the open position and disconnecting the operator until the batteries are swapped.
Here’s the step-by-step for checking battery voltage without removing anything:
- Locate the operator control box. On most West University Place residential gates, this is a gray or green metal box mounted near the gate post or on the driveway side of the gate frame.
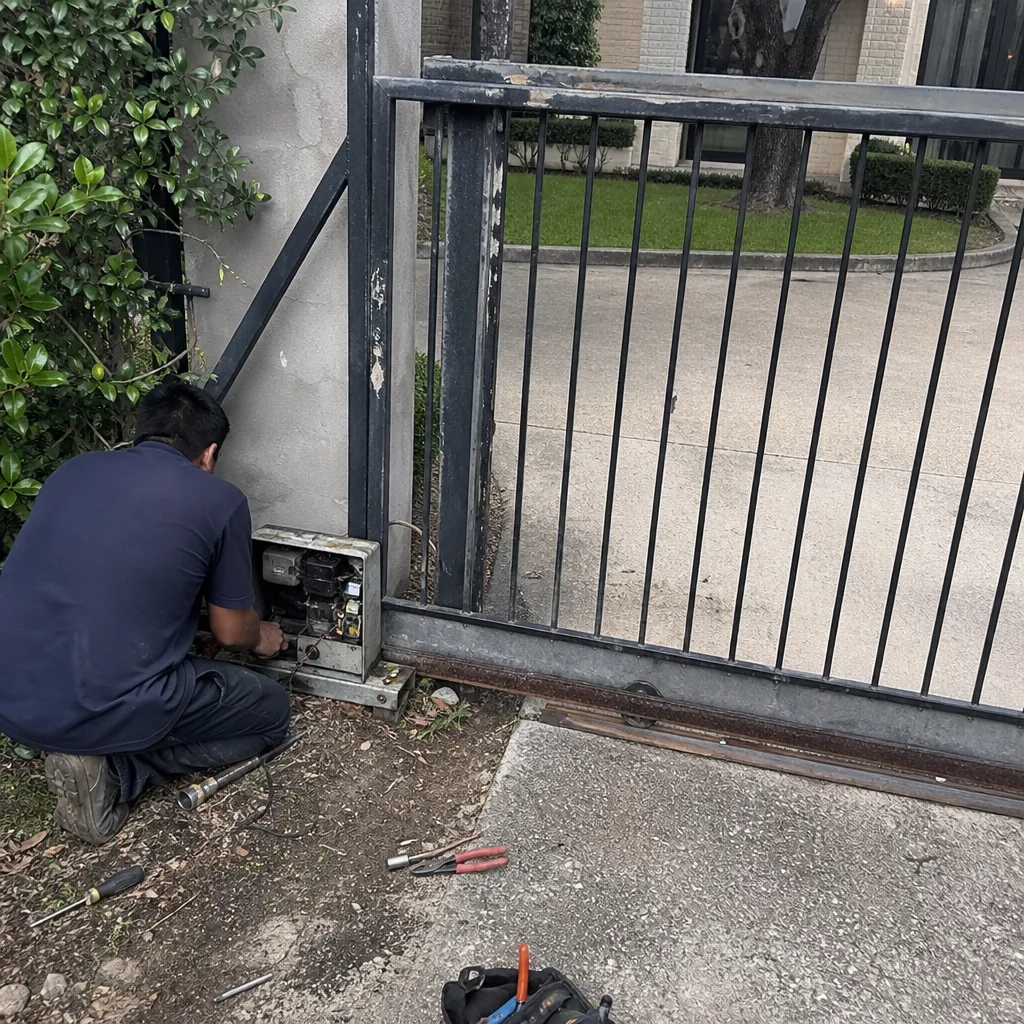
- Open the cover. You’ll see the control board, a transformer or charging module, and either one or two batteries.
- Set your multimeter to DC volts. Touch the red lead to the positive battery terminal and the black lead to the negative terminal.
- Read the number. Write it down with the date. That’s the entire point of the log we’ll talk about later.
- If the reading is below the thresholds above, call for a replacement before the next storm, not after.
One more note specific to West University Place: our neighborhood loses power more often than people think, partly because of the age of some of the overhead lines and partly because of storm frequency. For Gate Repair Warning Signs: A West University Place Homeowner’s Reference Guide, power-related failures are one of the most common issues we document. A gate that works fine on grid power but can’t hold a battery charge will strand you exactly when you need it most.
Hinge Wear: How to Measure Play Before It Strains the Motor
A gate hinge wearing out doesn’t announce itself with a bang. It announces itself with a sag. The gate starts dragging slightly at the latch post. The motor works a little harder each day. And because the motor is designed to run within a specific torque window, that extra drag shortens the operator’s life and increases the load on the gate repair you’ll eventually need.
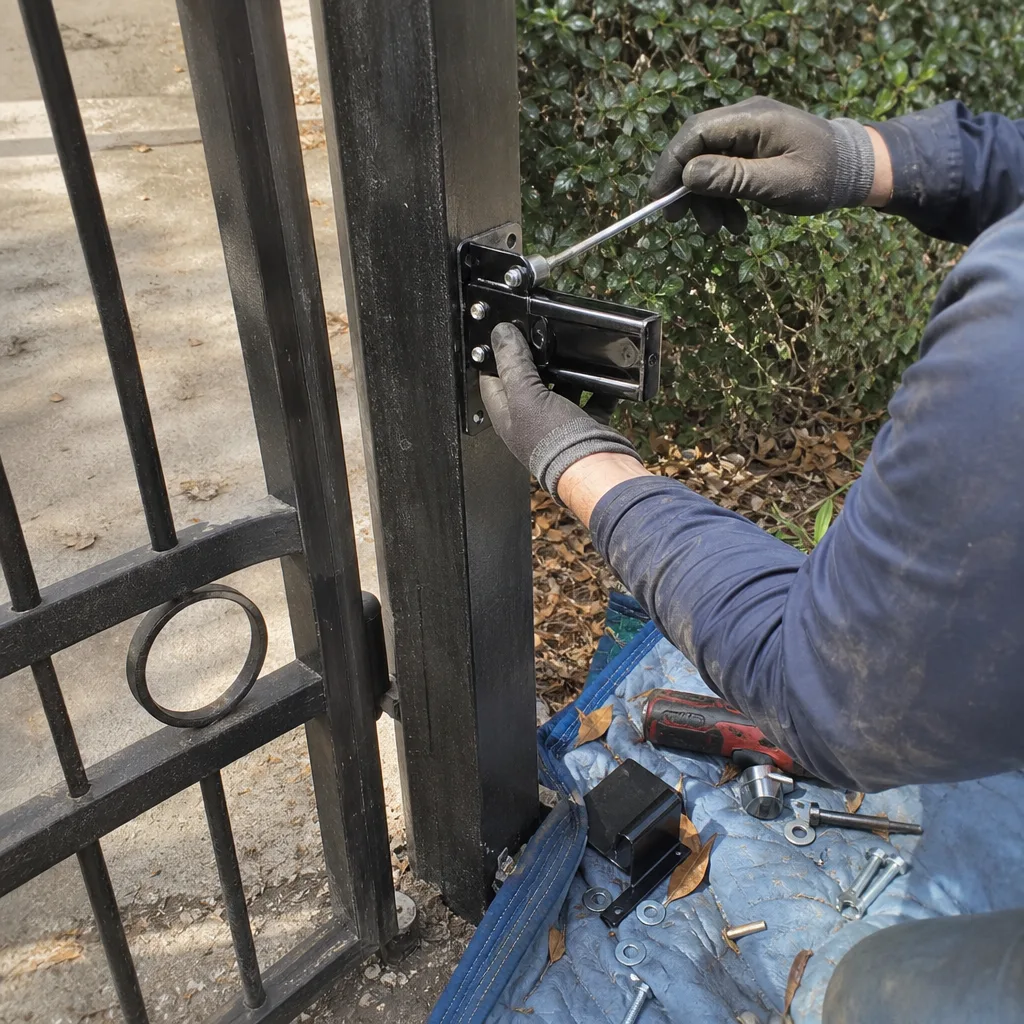
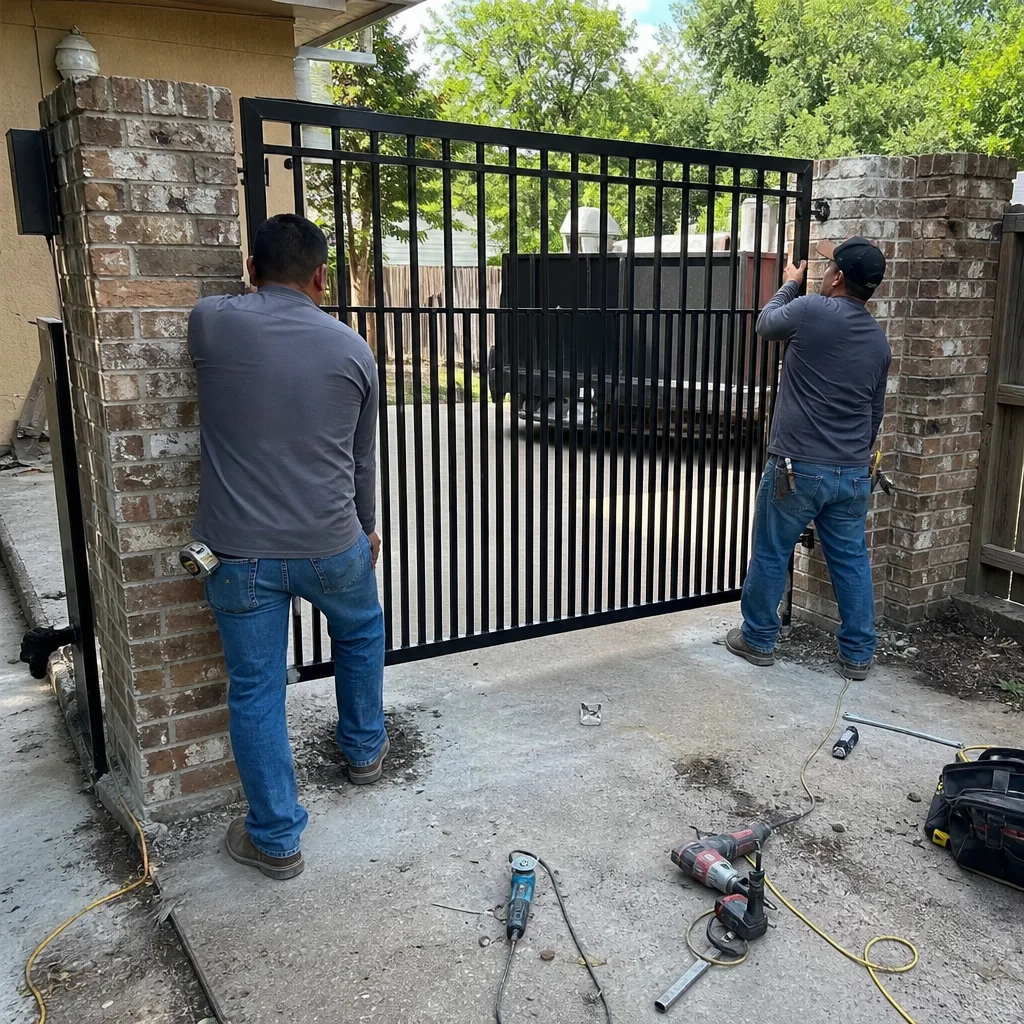
Here’s the measurement that matters. Stand at the latch side of a closed gate. Lift up on the gate frame at the latch post. You’re testing vertical play: the amount the gate moves up and down at the free end while the hinge side stays fixed. A healthy hinge setup shows no more than 1/8 inch of vertical movement at the latch post. If you can lift the gate more than 1/8 inch, the hinge pins or bushings are wearing, and the gate is starting to hang its weight on the motor and the latch assembly.
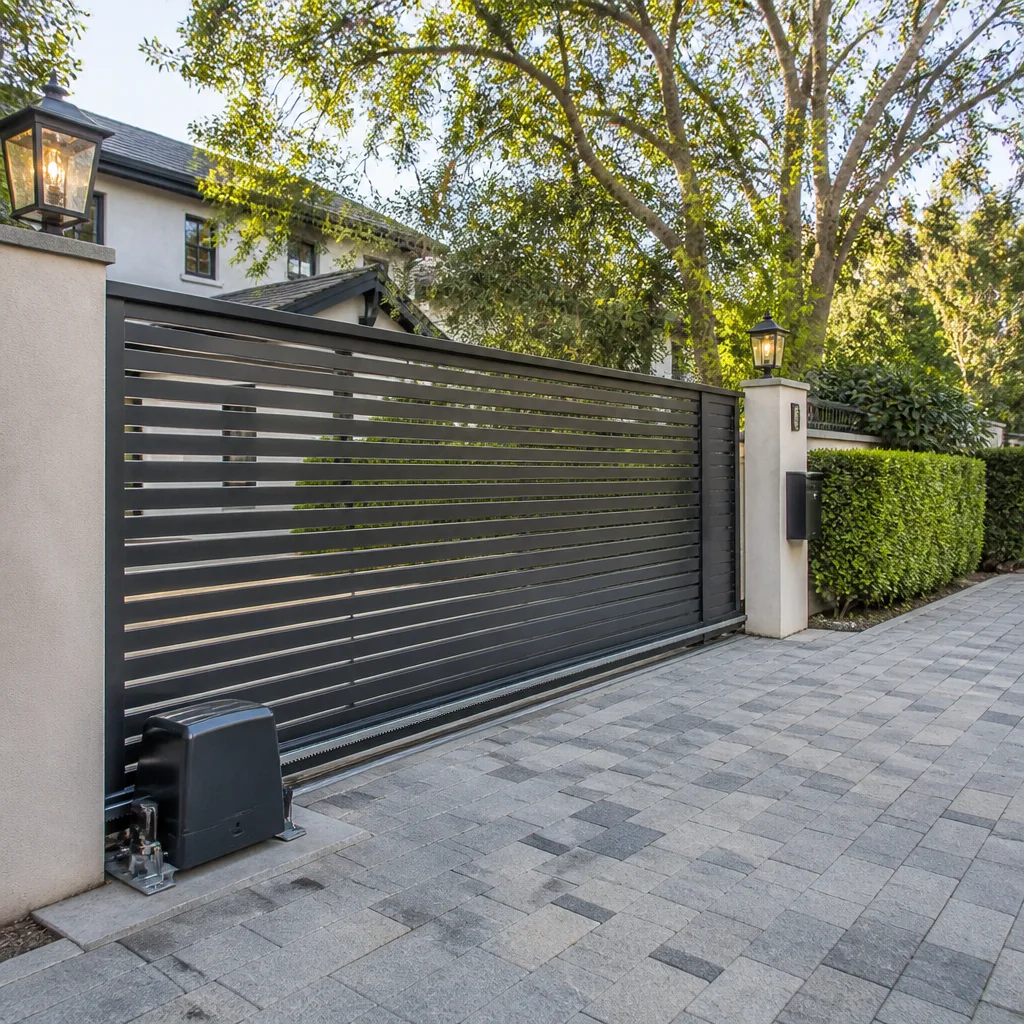
For a sliding gate, the test is different. Walk to the middle of the gate’s travel path. Push laterally against the gate panel, perpendicular to its direction of travel. The panel should not rock more than 1/4 inch at the top rail. More than that means the guide rollers or track brackets are wearing, and the gate is starting to bind against the track.
Here’s what those numbers mean in practice. A swing gate with 1/4 inch of hinge play puts roughly twice the designed load on the operator’s gearbox at the start of each cycle. That’s the difference between a motor that lasts 12 years and one that fails in 7. In West University Place, where gate posts sit in clay-heavy soil that shifts with rainfall, hinge wear tends to accelerate after wet winters. The soil expands, the posts lean slightly, and the hinge alignment shifts. It’s worth checking hinge play every six months, and checking it twice a year if your gate sits on the east side of the house where afternoon sun heats the metal and accelerates wear on bushings.
Chain and Rack Slack: What a Tape Measure Tells You
Your gate motor moves the gate through either a chain drive or a rack-and-pinion system. Both have a tolerance for slack, and both give you a cheap, direct measurement that tells you whether the drive system is healthy or headed toward failure.
For a chain-drive gate, grab the chain at the midpoint between the sprockets. Press down with one finger. The chain should deflect no more than 1/4 inch from its resting position. More than 1/4 inch means the chain tensioner has backed off, the chain has stretched, or both. A loose chain slips on the sprocket under load, which makes the gate lurch and puts shock loads through the gearbox.
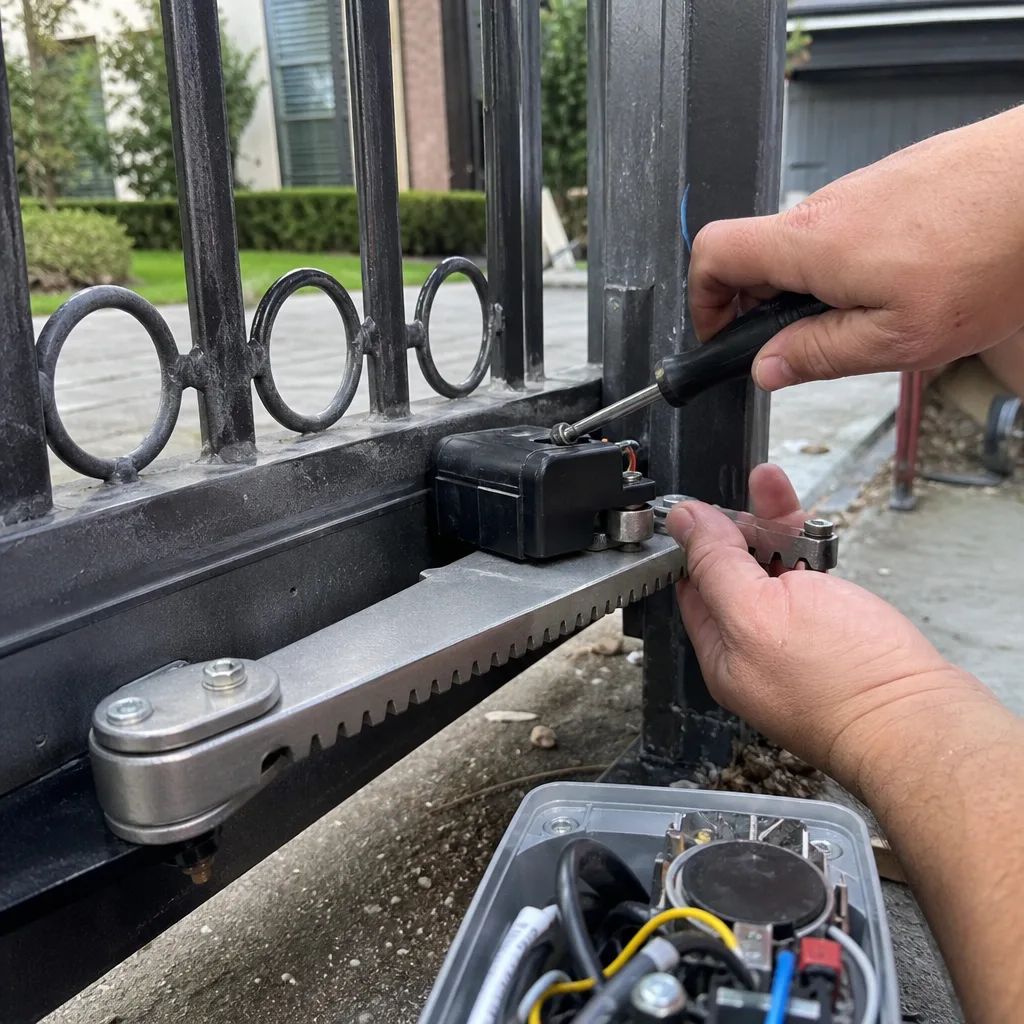
For a rack-and-pinion gate, inspect the gap between the rack teeth and the pinion gear on the operator. The pinion should sit fully engaged with the rack teeth, with no visible daylight between the teeth faces. If you can see a gap, or if the pinion wobbles when you push laterally on the gate, the rack brackets have loosened and the drive is losing contact. That’s the classic setup for a gate that jerks halfway through its travel and stops.
Both measurements take under ninety seconds. Do them quarterly. In West University Place, the biggest slack accelerators we see are the temperature swings between January (low 40s) and August (mid-90s), which expand and contract the metal chain and rack components. A chain adjusted in January may be too tight by July, and one adjusted in July may be too loose by February. Just as important: the humidity near the Houston Ship Channel and the Gulf makes chain lube break down faster, so a chain that’s dry in addition to being loose wears sprockets quickly.
Here’s a simple quarterly check:
- Measure chain deflection at mid-span with a ruler or tape measure.
- Look at the rack-to-pinion contact point with a flashlight while the gate moves through one full cycle.
- Listen for a rhythmic clicking or a lurch-and-catch pattern during travel. That’s slack showing up under load.
- If slack exceeds 1/4 inch, call a technician. The fix is usually a tension adjustment and bracket re-torque, not a replacement.
Limit-Switch Travel: The 12-Degree Problem We See Most Often
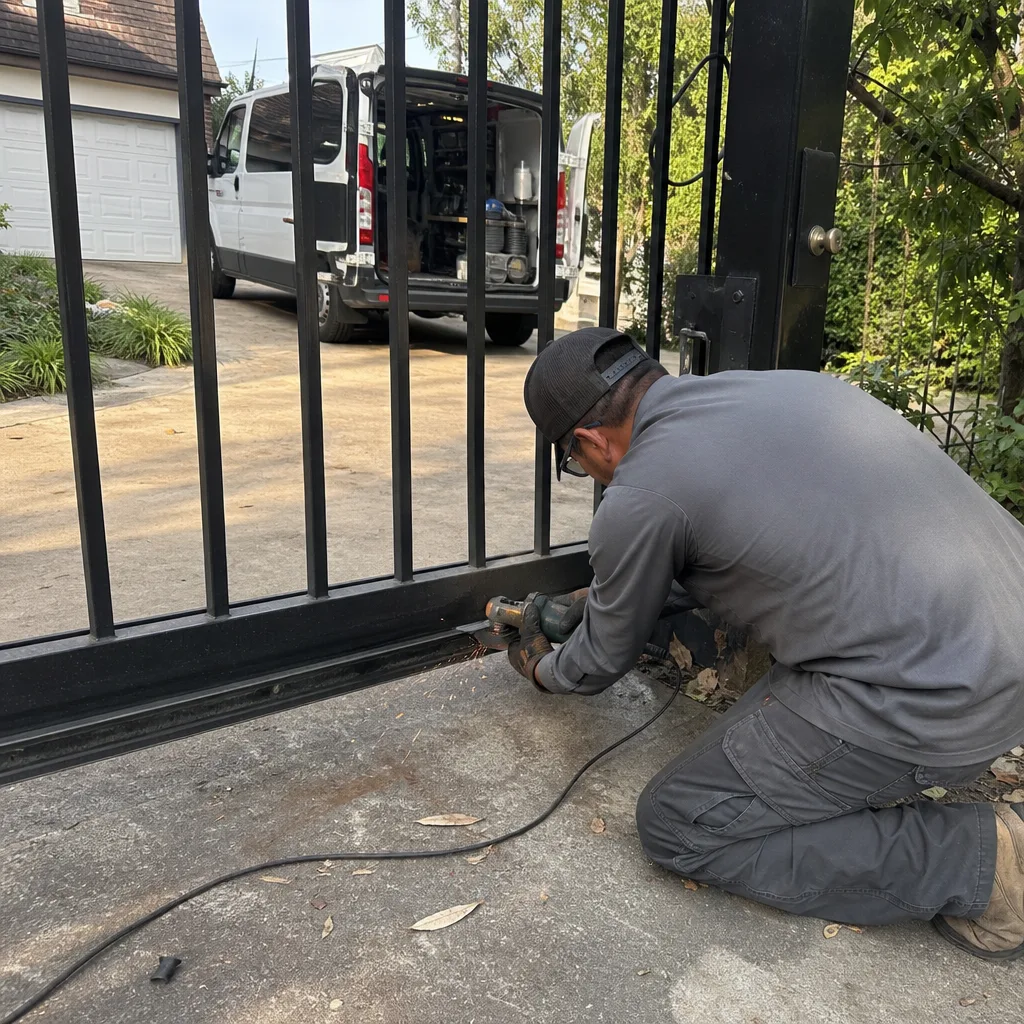
A limit switch tells the gate motor where to stop. On swing gates, the limit is typically set by magnetic sensors or a mechanical cam that limits how far the actuator arm travels. On sliding gates, it’s a set of magnetic limits mounted along the track. When a limit switch drifts, the gate stops in the wrong place. It might not close fully, leaving a gap. Or it might over-travel, pressing against the post and putting strain on the frame.
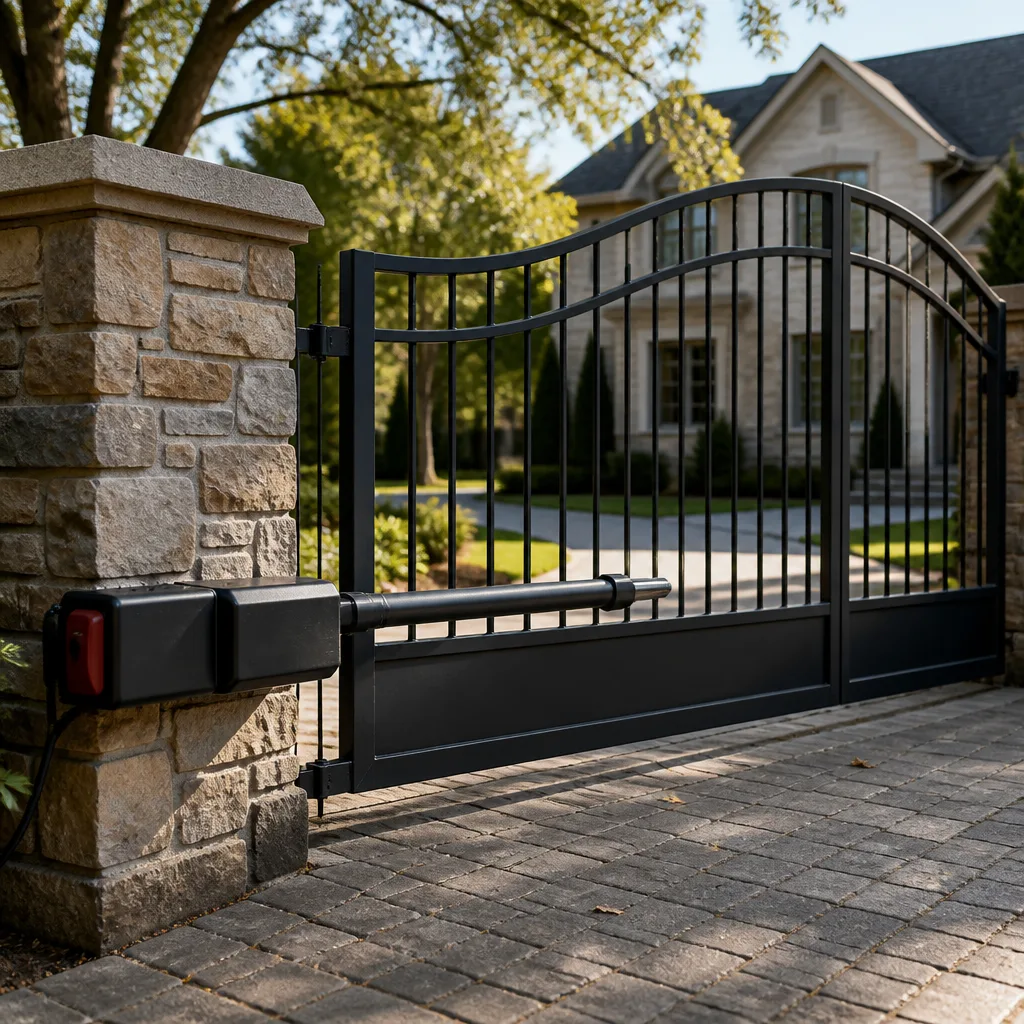
Here’s what “wrong” looks like in real numbers. A swing gate should stop with its latch post pad flush against the receiver post. A gap of more than 1/4 inch between the gate and the post is too much. A sliding gate should stop with the leading edge flush with the end post, and the limit magnet should trigger the stop within 1/2 inch of the intended position. In our service records, the most common limit-switch problem we find in West University Place is exactly what we described in our opening: the limit switch was set 12 degrees past travel, the gate was driving into the post with enough force to bend the mounting bracket, and the homeowner had been living with a gate that “sort of shut” for months.
The problem with limit-switch drift is that it’s often symptom-free until it isn’t. The gate still opens. The gate still closes. It just closes slightly wrong, every single time, slowly working the bracket or the hinge loose. Here’s the test: watch the gate close from ten feet away. Does it stop exactly at the post, or does it bounce back an inch after making contact? A bounce-back means the limit is set too late. A gap means the limit is set too early. Both are five-minute fixes for a trained technician and both cause real damage when ignored for a year.
We do not recommend adjusting limit switches yourself. On swing-gate operators like Ghost Controls and Mighty Mule units, the limit adjustment involves opening the actuator housing and moving the mechanical stops while the arm is under spring tension. On slide-gate operators like DoorKing and Elite, the limits are magnetic and adjusted at the rail, which is lower-risk but still requires a voltmeter to verify the stop signal. If you suspect limit drift, note the exact behavior (over-travel, under-travel, bounce-back, direction) and the measurement of the gap or bounce. That’s the information a technician needs.
Control Board Corrosion: Houston Humidity and What to Look For
The control board is the brain of the gate system, and in West University Place, it lives in one of the most humid environments in the United States. The average morning relative humidity in July is above 90 percent, and that moisture works its way into outdoor enclosures through seals, cable glands, and the simple process of warm air expanding and contracting.
What you’re looking for on a control board is corrosion of the copper traces and solder joints. Here’s the visual inspection:
- Open the operator control box and look at the board under a flashlight. A healthy board shows bright green or blue PCB material with clean solder joints.
- White, powdery residue on solder joints is early-stage corrosion. This is common on two-year-old boards in West University Place that sit near sprinkler heads or in shaded, damp corners of the yard.
- Green residue (verdigris) on copper traces is more advanced. This means moisture has been active on the board for a while and the trace is starting to fail.
- Dark brown or black spots around relay housings or power connections indicate arcing or heat damage, which usually follows corrosion-induced resistance.
- Any board with visible corrosion on more than three solder joints should be scheduled for replacement, even if the gate still works. The failure mode is typically a gate that stops responding to remotes or keypads on a humid morning, then mysteriously works again by noon.
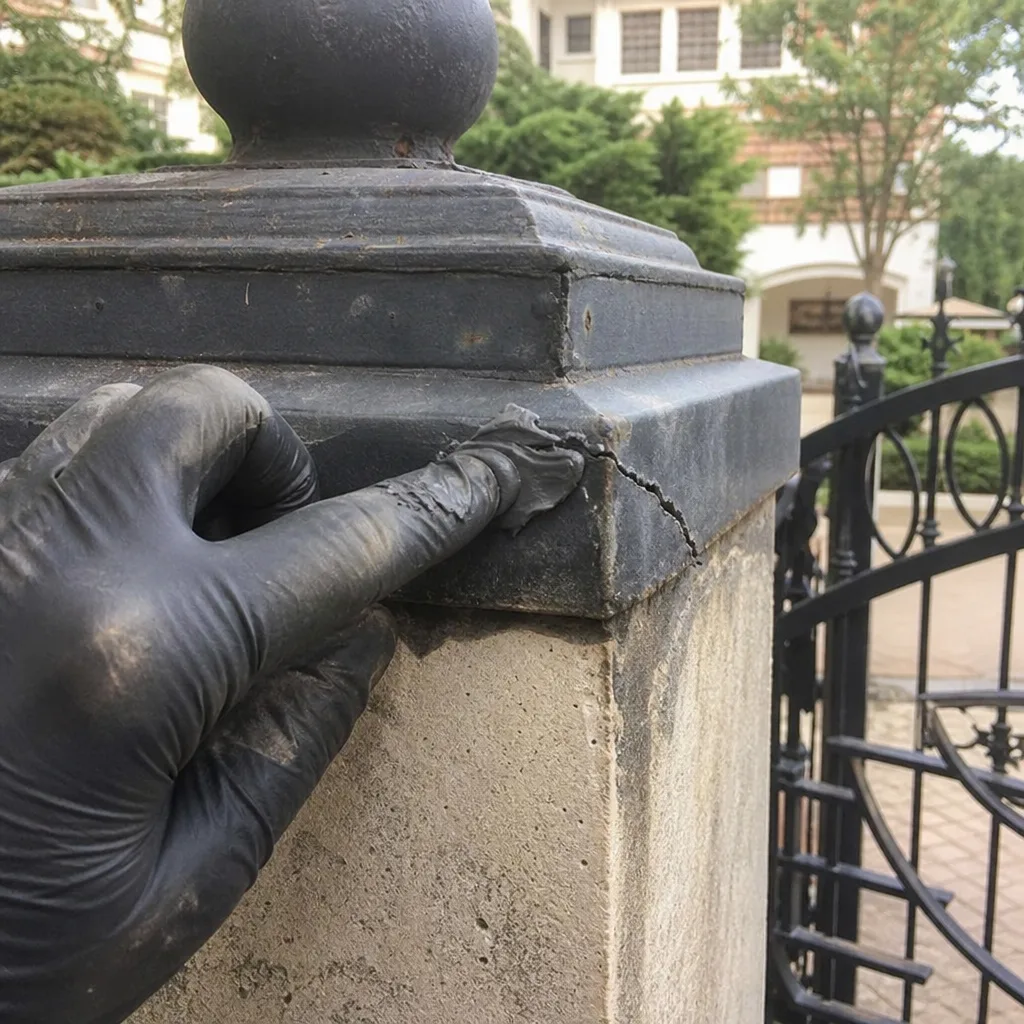
One thing we’ve learned in ten years of Vance Gate Repair West University Place home service in this neighborhood: control board corrosion follows the water. If your irrigation sprinkler head is within five feet of the control box, or if the box is mounted on the north side of a fence where it never gets direct sun, the corrosion timeline accelerates. It’s a cheap fix to add a weather hood or relocate the box, but it’s a much more expensive fix to replace a board that’s been slowly dissolving in invisible moisture. If you see condensation on the inside of the control box lid after a rain, the box is not sealed, and the board is aging on an accelerated timeline.
The Five-Point Visual Inspection You Can Do in Ten Minutes
Most maintenance checklists overwhelm homeowners with forty items and a bunch of tools they don’t own. For more guides & resources, we keep our advice focused on what you can actually measure yourself. Here’s a leaner version that covers 80 percent of the failures we see on residential gates in West University Place. None of these five points requires opening a motor housing or touching a spring.
- Gap and alignment. Stand at the closed gate and look at the gap between the gate and the post. Is the gap even from top to bottom? An uneven gap means the gate is sagging or the post is leaning.
- Chain or rack deflection. Measure the slack with a ruler as described above. If you don’t have a ruler, press on the chain with one finger. If it moves more than the width of your fingertip, it’s too loose.
- Battery voltage. Multimeter on the battery terminals. Log the number. This is the single most predictive check on the list.
- Corrosion on the control board. Flashlight inspection of the board surface. Look for white powder or green residue.
- Travel behavior. Cycle the gate twice. Watch for bounce-back, lurching, hesitation, or any new noise. Note it in the log.
This five-point check takes under ten minutes and catches the vast majority of problems before they become breakdowns. The two items that always require a technician are limit-switch adjustment and spring tension work. Both involve stored energy, and both can cause serious injury if handled incorrectly. In our experience, the homeowner who logs these five readings every quarter is the homeowner who almost never calls us for an emergency. They call us for a scheduled repair on a part we can see trending downward, which is always cheaper.
How to Log Each Inspection So a Future Technician Can Trend the Data
Here’s the piece of this guide that most maintenance checklists skip, and it’s the piece that saves you the most money over the life of your gate. Write down every reading you take. Don’t just check the battery. Write down the voltage, the date, and the outside temperature. Don’t just check the chain. Write down the deflection measurement.
A gate doesn’t fail on the day the part breaks. It fails on the day the part wears past a threshold that nobody was tracking. If you have six months of battery readings that show 12.7, 12.6, 12.5, 12.4, 12.3, 12.2, that’s not a gate that “suddenly stopped working.” That’s a gate that told you exactly what was about to happen, in writing, over half a year.
Our recommendation for West University Place homeowners is a simple notebook or a notes app on your phone. Log the five readings from the section above, once per quarter. Keep the log in the same place every time. When a technician visits, hand them the log. Under our documentation standard, every Vance Gate Repair visit includes a written record of what was found and what was adjusted, and if you bring your own log, the technician can compare the before and after directly. We also maintain records of Gate Repair Permits, Codes & Inspections in TX: What You Need to Know to ensure every job meets local requirements. That’s the difference between a technician who starts from scratch and a technician who can see the trend line. It’s also the difference between paying to diagnose a problem and paying to fix one.
We filed over 22,000 gate repairs and installations this way since Adrian Vance started the company in 2014, and the pattern is consistent: documented measurements make future repairs faster, less invasive, and more precise. A gate with a log is a gate that doesn’t get misdiagnosed.
Common Mistakes to Avoid
- Lubricating without cleaning first. Spraying lubricant over dirt and metal dust creates a grinding paste that accelerates wear on hinges and chains. Wipe the surface clean, then lubricate. In West University Place, where blow-in dust from landscaping is constant, this step matters more than the lubricant itself.
- Ignoring a battery that still works. A 12V battery at 12.2V will still open your gate today. It won’t necessarily open it next month. Voltage tells you when to replace, not whether it’s already dead.
- Tightening a chain too far. A chain with zero deflection is a chain that’s over-stressed at the sprockets. Over-tightening kills sprocket bearings faster than looseness does.
- Painting over corrosion. We see control boards and battery terminals painted over with anti-corrosion spray as a “fix.” The corrosion is already inside the copper. Painting the outside doesn’t stop it and makes the board harder to inspect.
- Using automotive grease on gate hinges. Car grease attracts dust and hardens in the Houston heat. Use a dry lithium or white lithium spray formulated for outdoor metal.
- Assuming the installer set the limits correctly. A surprising number of gates in West University Place were installed with loose limits from day one. If your gate has bounced at the post since installation, that’s not normal behavior and it’s not harmless.
- Calling only when the gate stops. The whole point of a checklist is to catch the trend before the failure. A gate that’s making noise or moving slightly wrong is already telling you something.
When to Call a Professional
Call a technician when the battery reads below threshold and you’re not comfortable swapping it yourself. Call when the gate bounces at the post, when the chain slack exceeds 1/4 inch and the tensioner doesn’t resolve it, when you see green corrosion on more than three board joints, or when the gate makes any noise that sounds like grinding, squealing, or a metallic snap. Do not attempt spring tension work or limit-switch adjustment on a powered operator unless you have specific training. Those two tasks account for the majority of serious gate-related injuries we hear about in the Houston area. Gate installation in West University Place and repair work of this type should always be handled by someone who can show you the written price before starting and the photo record when they finish. Vance Gate Repair West University Place offers free estimates in West University Place. Call (346) 375-5416.
Frequently Asked Questions
A 12V sealed lead-acid gate battery typically lasts 2 to 4 years in West University Place, with the shorter end of that range common on gates that cycle frequently and sit in unshaded southern exposures where heat accelerates battery aging. A 12V battery reading below 12.4V at rest, or a 24V pair below 24.8V, should be scheduled for replacement. Call (346) 375-5416 for an exact quote. Estimates are free.
Basic gate maintenance in West University Place, covering hinge lubrication, chain or rack tension check, battery voltage test, and a five-point visual inspection, typically runs $95 to $175 per visit depending on the gate type and whether any adjustments are needed. Repairs found during maintenance are quoted separately, in writing, before any work begins. Call (346) 375-5416 for a free estimate.
We don’t recommend it. Swing-gate operators like Ghost Controls and Mighty Mule use spring-loaded actuator arms, and opening the housing to adjust limits means working near stored energy. Slide-gate operators like DoorKing and Elite use magnetic limits that are safer to reach but still require verifying the stop signal with a voltmeter. If your gate over-travels or bounces at the post, the safer call is to a professional. Call (346) 375-5416 and a technician will check the limits.
Intermittent gate operation in West University Place is usually caused by one of three things: a battery that holds voltage at rest but collapses under load, a control board with humidity-related corrosion that creates unstable connections, or a limit switch that drifts with temperature. All three are diagnosable with a multimeter and a visual inspection. Call (346) 375-5416 for a free second opinion if another company has quoted you a full replacement.
Run the five-point visual checklist quarterly and have a full professional maintenance visit once per year. Gates on clay-heavy soil, which describes most of West University Place, shift with seasonal moisture and need the annual check to catch post lean and hinge misalignment early. If your gate is on a high-cycle driveway, meaning more than eight open-close cycles per day, move to twice-yearly professional maintenance.
A full maintenance visit should include battery voltage test and load test, chain or rack tension adjustment, hinge and bracket inspection with torque check, limit-switch verification, control board visual inspection, safety sensor alignment check, and a written record of every measurement taken. At Vance Gate Repair West University Place, every maintenance visit also includes a documented photo record under The Haven Standard, and the written price is handed to you before any work starts. Call (346) 375-5416 to schedule.
The Bottom Line
A gate maintenance checklist is only as useful as the numbers it gives you. In West University Place, where humidity corrodes control boards and clay soil shifts gate posts, the homeowner who logs battery voltage, chain slack, hinge play, and limit-switch travel is the homeowner who fixes a $200 battery before it becomes an $800 emergency repair. Write down what you measure. Check the five points every quarter. And when a measurement crosses the thresholds in this guide, call a professional who will put the price in writing before touching the gate. That’s the whole system, and it works.
Gate Motor & Opener in West University Place service starts with a free estimate and a written price. Call (346) 375-5416 and a live person answers day or night.
Written by Adrian Vance, Owner at Vance Gate Repair West University Place, serving West University Place since 2014.